and give each set of students a prepared egg carton. The first player shakes the carton, opens the lid, and multiplies the two numbers the pom poms are on. If he/she is correct, he/she gets a point. The second player then closes the lid, shakes, and multiplies the two numbers indicated. Play continues in this manner until time is up. The player with the most points is the winner.
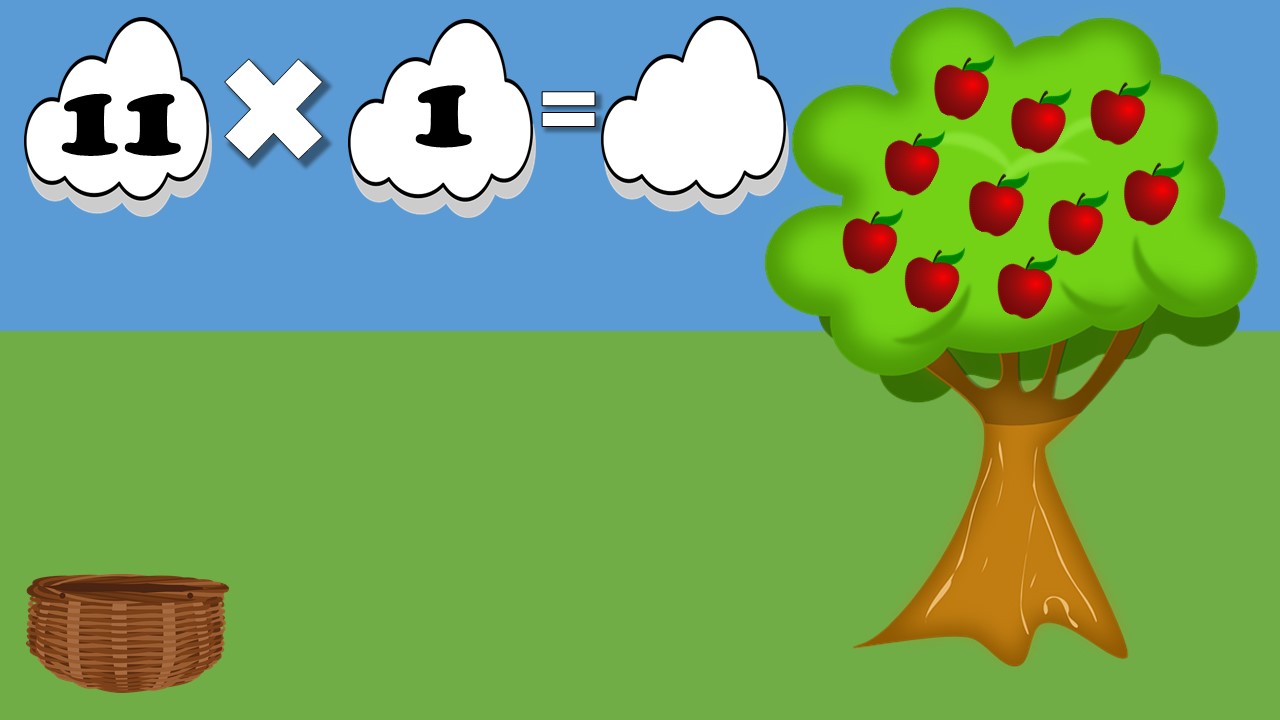
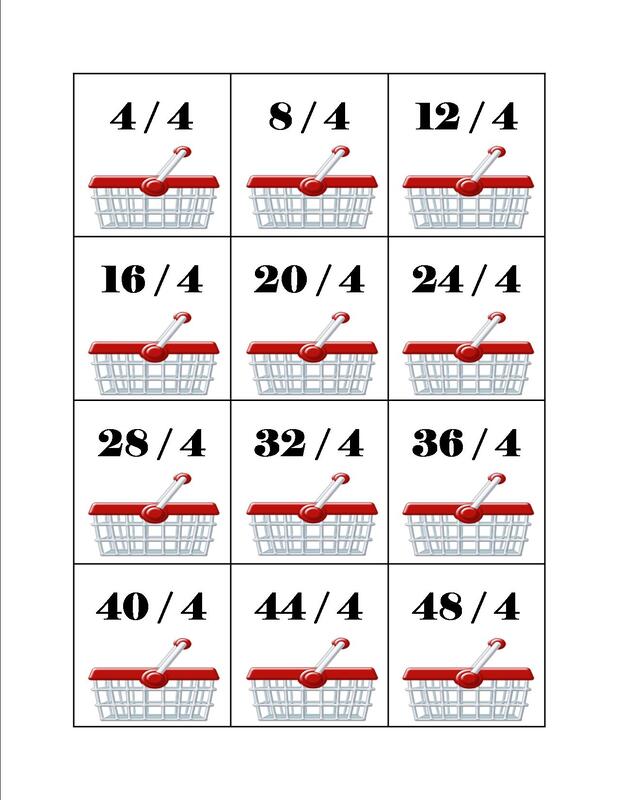
Since the cartons are free, pom poms are extremely cheap, and set up takes almost no time at all, I keep sets of these in my classroom year round. When there are five minutes left in class all I have to do is pass out the cartons and students can play. It's a great academic time filler for the end of class, or a nice brain break for when we need a change of pace. Toss 'N Multiply Requiring even fewer materials, and taking almost as little time to create, is my students' other favorite fact practice game. All you need for Toss 'N Multiply is a small soccer ball (the one I use is size 1.5, 6"), and a marker. The reason I use the soccer ball is that the clearly defined sections make it easy to label. Write the numbers 1-12 in the sections of the ball, repeating as many times as necessary. If you get a ball with black and white sections, simply use a silver marker on the black sections. Let the numbers dry (should only take a few seconds), and set up is complete. To play, have students gather in a circle. You can choose to play as a whole class, or in groups of three to six students. Students must toss the ball under hand, and catch it with two hands. Toss the ball to a student, reminding him/her to catch with both hands. The student then looks and multiplies whatever two numbers his/her thumbs are on. There will be a couple of sections without numbers, due to the presence of logos and other advertising, but the student can always use a different finger if his/her thumb is on one of those sections. If the student is correct, he/she stays in the game. The ball is then tossed to another student who repeats the process. If a student answers incorrectly, he/she is out of the game and must sit down. The last student standing is the winner. Again, this is the perfect game for filling time at the end of class, or a brain break during class. The ball takes up very little room at all, and other than having students stand in a circle, there is no prep work. Picking Apples This last activity does take a little more prep and time, but it is still a lot of fun. When we play Picking Apples, my students help me clear space by shoving all of the desks to each side of the room. We then have a starting line at one end, and a table for our apples at the other. I divide the students into two to four teams, and each team has a set of cards (we usually put them on a chair near the team's starting area) and a bucket. At the opposite end of the room I place a table and hundreds of miniature apple erasers. When I start the game, the first person on each team grabs the top card, computes the answer to the problem shown (I have sets for multiplication and division as well as addition and subtraction), runs to the opposite side of the room, gathers the correct number of apples for the answer, and runs back to the team. If correct, he/she earns a point for his/her team. The second person then takes the bucket, grabs a new card, runs to the other end, dumps out the apples from person one, and gathers the correct number for his/her card. Play continues in this way until time is called. The team with the most points wins. When playing this game with more than two teams, I will appoint at least one student to be my fellow answer checker. Also, when the answer is a large number (such as 144), I do not take time to count all of the apples, I look, estimate, and ask the student to tell me verbally how many are there. This year has brought new challenges to our lives; students are no longer all in the classroom together, and when they are in the classroom the sharing of materials is forbidden. Thus there is no Picking Apples game play this year. Instead I created digital task cards for students to practice with. Each card features a single problem written in the clouds, a basket to hold their apples, and an apple tree with over 150 apples on it (I copied and pasted the apple about 15 times, selected them all, aligned them to center and middle, and then copied and pasted the stacks to create "infinity" piles of apples in the tree.). On all of the sets except subtraction, the basket is actually a pile of baskets, so students can use groupings (such as repeated addition) to help them find the answer. These digital task cards allow students to safely use manipulatives to practice their basic math facts, 1-12 for multiplication and division, 1-20 for addition and subtraction. When making these kinds of digital activities I always design my non-moving elements in PowerPoint and save them as image files. I then upload those images as the background of my Google Slides. In order to speed up the background insertion (these activities had between 146 and 202 slides each!), I've long used the add-on Slides Toolbox. I once again used Slides Toolbox, but I also needed to do something else: randomize the slides. In order to be sure I included all of the facts students needed to practice, I created the task cards in order. When using paper task cards this isn't a problem, because I simply shuffle them before giving them to students. Digital task cards a little more tricky, and I needed a way to shuffle them so students would have to do more than count in sequence for the answers (multiplication is still in order because you may want to practice only certain facts). Thankfully, much as there's an app for every situation, there's an add-on for every situation today. I used every teacher's best friend, Google, and found an add-on called Slides Randomizer. This add-on will randomize the order of your slides once, or every time you open the file. You can choose to have the first slide remain stationary or not, and you can initiate a randomization of slides anytime you choose. In order to reset slides, you must use the back or undo button, and they will not return to their original order when you close the file. I decided it was worth a try, and it worked great. It was incredibly easy to use, and took hardly any time at all to perform the randomization of the slides. The only thing I wished was that I could choose the number of slides at the beginning to keep in place, as my activity has a title slide, a directions slide, and a helpful tip about groupings slide. I realized later that I should have just built my deck without those slides, randomized it, turned the auto-randomization off, and then added those three slides last, but at least I know for next time. I know most people don't automatically put math instruction together with ESL, but I have actually done quite a bit of it over the years. There's a lot of vocabulary in math, and it's an important subject for every student. I hope your students enjoy these fact practice games as much as mine. Happy teaching, everyone!
0 Comments
of the games that I've made using these methods and give you a template with a macro-enabled button for "rolling" a number cube.
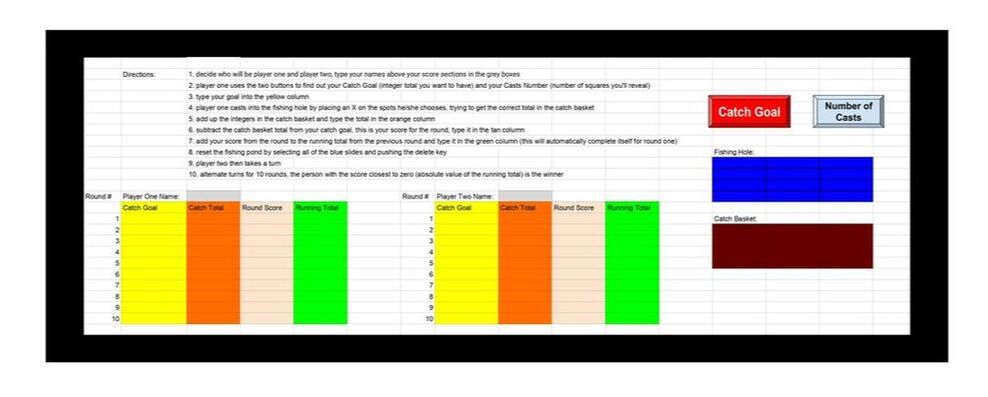
First, let me give you a look at how the game is played:
For most of the creation process the steps are the same in both Google Sheets and Microsoft Excel. When creating the activity I started by typing out the directions for students. I wanted it to be very clear how to play the game. I then created color-coded recording spaces for students to keep track of the game rounds (we used to use a white board for this). This was nothing more complicated than selecting the cells I wanted them to use for each purpose, filling the cells with a particular color, and then labeling the group. The real fun came when I started creating the fishing hole and the catch basket. The fishing hole was simple, I simply selected a group of cells, colored them blue, and set the text to be white and centered. The magic started with the catch basket. I used a random number generator (Google) to get 12 numbers between -20 and +20. I typed one number into each cell, selected the cells, made the text a dark brown, and then colored the cells a dark brown. This essentially made the numbers invisible. My next step was to enter the conditional formatting. I described how to do this in detail in my blog post about mystery picture activities (there's even a video). Just as a quick reminder, here are the steps to conditionally format cells based on the contents of another cell:
The magic continued with the addition of the Catch Goal and Number of Casts buttons, but this is where I needed my husband (a software engineer) to help me. I do not program and to create the activities two different programming languages were required. Sheets required JavaScript and Excel required VBA. All I did in this process was to insert an image and label it, from there the expert took over. He inserted a script for Sheets and a macro for Excel. I'll spare you the long explanation of how he made it all work (because I don't understand it). The good news is that he did and says it wasn't difficult (so if you do know how to program you could do it yourself). The final result was the game that you saw demonstrated above. The demonstration video was made with the Google Sheets version, but the play is the same with the Excel version. The Google Sheets version is for sale in my Teachers pay Teachers store, but the frustration of being a Microsoft school continues for all. It turns out that macro-enabled files are not supported on the TpT platform and I was unable to upload the Excel version. But the GOOD news is that since the game was already made, I decided to use my blog to disseminate it--for free! And, because I feel the pain of not always being able to use Google Apps, I included a template as well. The template includes the macro-enabled dice roll button. To use it simply open the file, do a "save as" so you don't mess up your template, and design your game. The Roll button will randomly generate numbers between one and six, just like a number cube. I hope you and your students enjoy the game as much as I and mine have. Happy gaming, everyone! |

I'm moving! Find me at my new home via the button below. If you've previously signed up to receive new post emails, please reenter your email on the new blog.
Categories
All
Archives
January 2021
|