Cool, right? And they were extremely easy to make. This is possible in both Excel and Sheets, but I find it a little easier to complete in Sheets because there are fewer options. The good news is that Sheets can be downloaded as Excel (click File, Download, Microsoft Excel) and all of the formatting stays in place. These directions will be for Sheets. The first thing I did was rename the first tab as "Directions." To rename a tab:
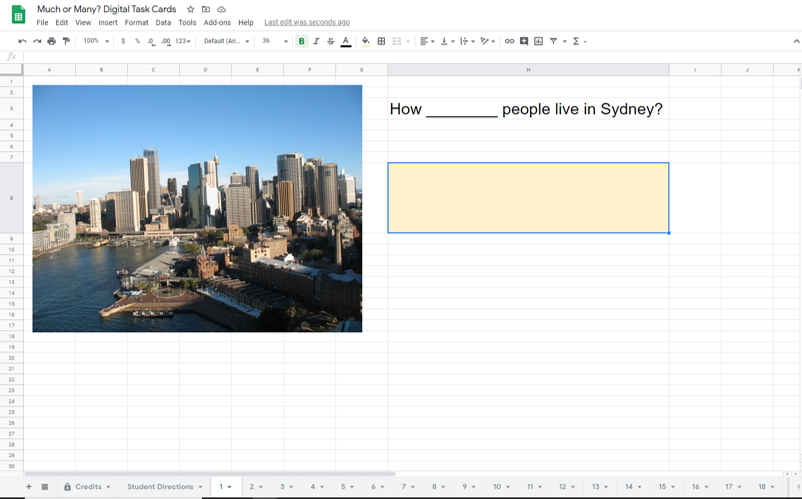
After the directions are finished it's time to add the question, answer, and grade tabs. I recommend that you add the answer tab first and you update it as you go. To add a tab click the + sign in the bottom left corner. Change the name to "Answers" using the above steps. I chose to label column A as "Question," so I could easily see which question the answer corresponded to, and I went ahead and numbered down column A (type 1 into cell A2, grab the bottom right corner of the blue outline around the cell and pull down, the numbering will be done automatically). Column B I labeled "Answer." Going back to my directions tab, I again clicked the + button and renamed this newest tab "1" for question one. On the question tabs you are going to include whatever you would normally place on a task card. I chose to include a picture (click Insert, Image, Over Cells) and the sentence that I wanted them to complete. One thing you do need to be sure and include though is an easily identifiable place for them to type their answer. You need to know exactly where the answer will be typed in order for the conditional formatting to work. I took care of this problem by choosing a cell, resizing it (not necessary but I wanted it to be large and not easily missed), and coloring it tan. Now that your first task card is set up, it's time to make the magic happen on the answer sheet.
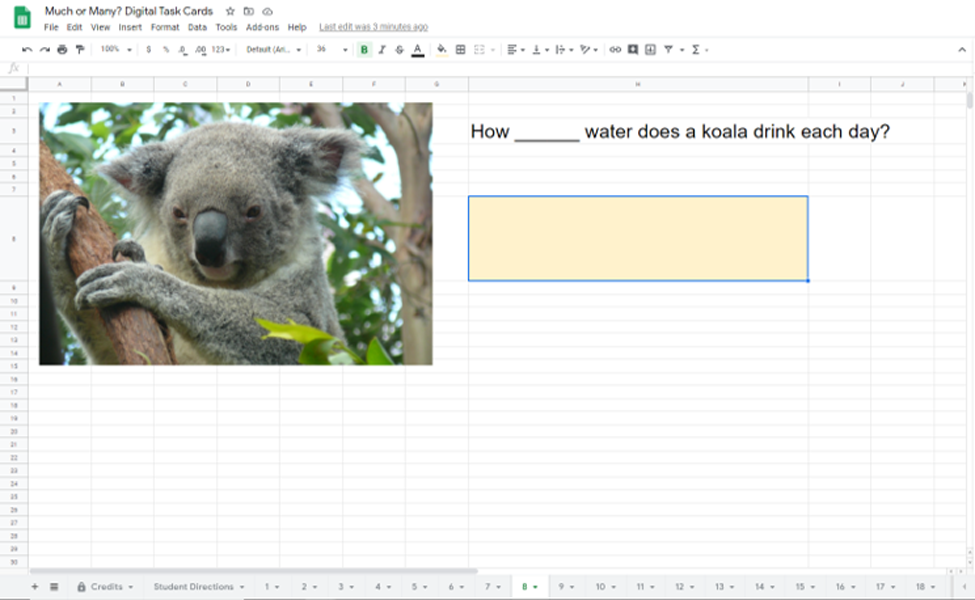
To create the next task card you could start from scratch, but I recommend copying and pasting to save yourself a little setup work.
Only a few things remain to be done. The first step is to finish the auto-grading feature.
This next part is totally optional but I wanted it because I sometimes use task cards as an assessment. The Answers tab will now clearly show which questions are correct and which are incorrect. This is great if I want students to be able to go back and correct their work, but what if I don't want to make it obvious which questions are right or wrong, and I still want them to know their final score? My solution was a grade tab. From the Answers tab create a new tab by clicking the + sign in the bottom left corner. Rename the new tab "Grade." I then inserted a picture (just for fun) and an encouraging message. I then chose a cell and typed "Number Correct" (cell H4 in my example). In the next cell over (cell I4 on my sheet) I told it to automatically populate from the Answers sheet.
The final step is to hide the Answers tab so they don't have access to which specific questions are correct or incorrect (this step is optional but good if you want to use the cards as an assessment). To hide a tab:
That's it, you now have a complete set of self-grading digital task cards. To use them you will need to make a copy of the document for each student and give them editing rights (be sure you've deleted any answers you typed on the question tabs as you tested things out). The best way of doing this will depend on your learning management system. To do this on Blackboard I create a Force a Copy link and post the link in my assignment. In Google Classroom you can just put the link into classroom and choose "make a copy for each student." The important thing is that each student have his or her own copy of the cards. This truly is my new favorite way to do task cards. I like it so much that I'm planning to go back and recreate some of my other task cards (the ones where students move circles to indicate their choice and I have to check each slide individually) using this method. I hope you find it helpful as well, happy teaching!
0 Comments
Leave a Reply. |

I'm moving! Find me at my new home via the button below. If you've previously signed up to receive new post emails, please reenter your email on the new blog.
Categories
All
Archives
January 2021
|