and give each set of students a prepared egg carton. The first player shakes the carton, opens the lid, and multiplies the two numbers the pom poms are on. If he/she is correct, he/she gets a point. The second player then closes the lid, shakes, and multiplies the two numbers indicated. Play continues in this manner until time is up. The player with the most points is the winner.
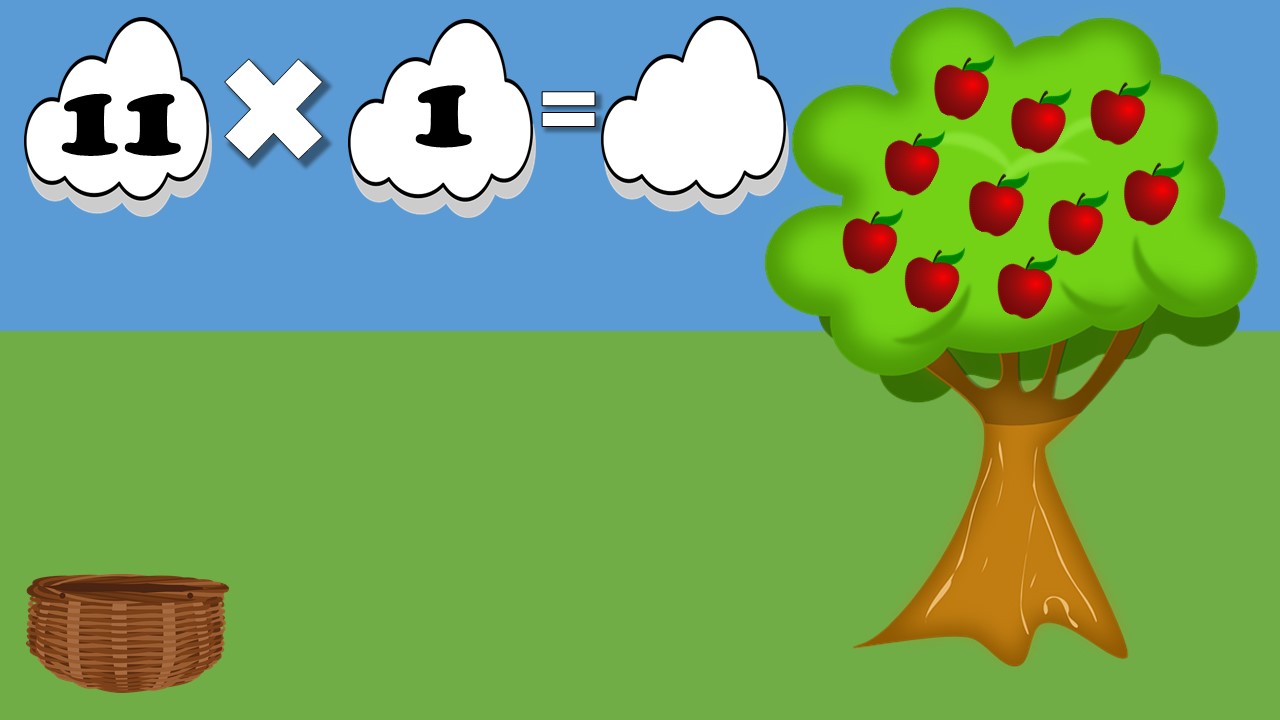
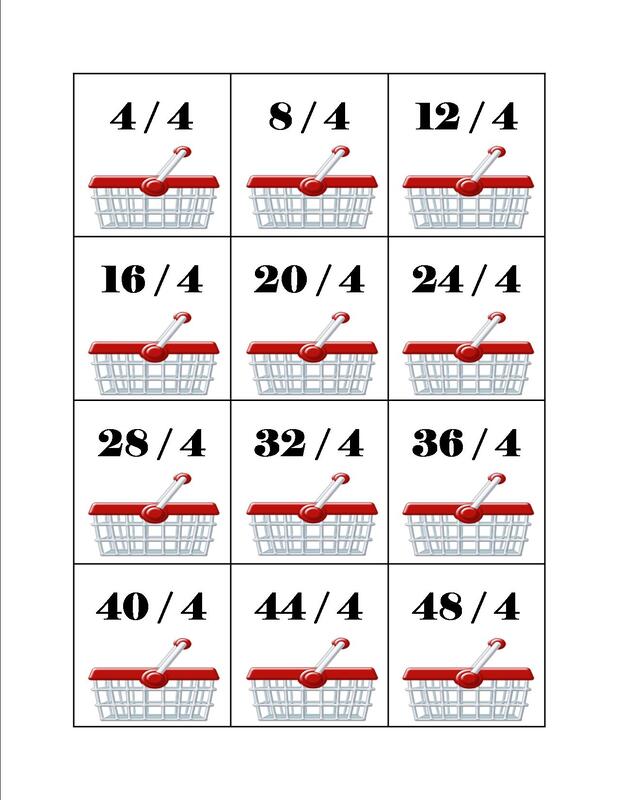
Since the cartons are free, pom poms are extremely cheap, and set up takes almost no time at all, I keep sets of these in my classroom year round. When there are five minutes left in class all I have to do is pass out the cartons and students can play. It's a great academic time filler for the end of class, or a nice brain break for when we need a change of pace. Toss 'N Multiply Requiring even fewer materials, and taking almost as little time to create, is my students' other favorite fact practice game. All you need for Toss 'N Multiply is a small soccer ball (the one I use is size 1.5, 6"), and a marker. The reason I use the soccer ball is that the clearly defined sections make it easy to label. Write the numbers 1-12 in the sections of the ball, repeating as many times as necessary. If you get a ball with black and white sections, simply use a silver marker on the black sections. Let the numbers dry (should only take a few seconds), and set up is complete. To play, have students gather in a circle. You can choose to play as a whole class, or in groups of three to six students. Students must toss the ball under hand, and catch it with two hands. Toss the ball to a student, reminding him/her to catch with both hands. The student then looks and multiplies whatever two numbers his/her thumbs are on. There will be a couple of sections without numbers, due to the presence of logos and other advertising, but the student can always use a different finger if his/her thumb is on one of those sections. If the student is correct, he/she stays in the game. The ball is then tossed to another student who repeats the process. If a student answers incorrectly, he/she is out of the game and must sit down. The last student standing is the winner. Again, this is the perfect game for filling time at the end of class, or a brain break during class. The ball takes up very little room at all, and other than having students stand in a circle, there is no prep work. Picking Apples This last activity does take a little more prep and time, but it is still a lot of fun. When we play Picking Apples, my students help me clear space by shoving all of the desks to each side of the room. We then have a starting line at one end, and a table for our apples at the other. I divide the students into two to four teams, and each team has a set of cards (we usually put them on a chair near the team's starting area) and a bucket. At the opposite end of the room I place a table and hundreds of miniature apple erasers. When I start the game, the first person on each team grabs the top card, computes the answer to the problem shown (I have sets for multiplication and division as well as addition and subtraction), runs to the opposite side of the room, gathers the correct number of apples for the answer, and runs back to the team. If correct, he/she earns a point for his/her team. The second person then takes the bucket, grabs a new card, runs to the other end, dumps out the apples from person one, and gathers the correct number for his/her card. Play continues in this way until time is called. The team with the most points wins. When playing this game with more than two teams, I will appoint at least one student to be my fellow answer checker. Also, when the answer is a large number (such as 144), I do not take time to count all of the apples, I look, estimate, and ask the student to tell me verbally how many are there. This year has brought new challenges to our lives; students are no longer all in the classroom together, and when they are in the classroom the sharing of materials is forbidden. Thus there is no Picking Apples game play this year. Instead I created digital task cards for students to practice with. Each card features a single problem written in the clouds, a basket to hold their apples, and an apple tree with over 150 apples on it (I copied and pasted the apple about 15 times, selected them all, aligned them to center and middle, and then copied and pasted the stacks to create "infinity" piles of apples in the tree.). On all of the sets except subtraction, the basket is actually a pile of baskets, so students can use groupings (such as repeated addition) to help them find the answer. These digital task cards allow students to safely use manipulatives to practice their basic math facts, 1-12 for multiplication and division, 1-20 for addition and subtraction. When making these kinds of digital activities I always design my non-moving elements in PowerPoint and save them as image files. I then upload those images as the background of my Google Slides. In order to speed up the background insertion (these activities had between 146 and 202 slides each!), I've long used the add-on Slides Toolbox. I once again used Slides Toolbox, but I also needed to do something else: randomize the slides. In order to be sure I included all of the facts students needed to practice, I created the task cards in order. When using paper task cards this isn't a problem, because I simply shuffle them before giving them to students. Digital task cards a little more tricky, and I needed a way to shuffle them so students would have to do more than count in sequence for the answers (multiplication is still in order because you may want to practice only certain facts). Thankfully, much as there's an app for every situation, there's an add-on for every situation today. I used every teacher's best friend, Google, and found an add-on called Slides Randomizer. This add-on will randomize the order of your slides once, or every time you open the file. You can choose to have the first slide remain stationary or not, and you can initiate a randomization of slides anytime you choose. In order to reset slides, you must use the back or undo button, and they will not return to their original order when you close the file. I decided it was worth a try, and it worked great. It was incredibly easy to use, and took hardly any time at all to perform the randomization of the slides. The only thing I wished was that I could choose the number of slides at the beginning to keep in place, as my activity has a title slide, a directions slide, and a helpful tip about groupings slide. I realized later that I should have just built my deck without those slides, randomized it, turned the auto-randomization off, and then added those three slides last, but at least I know for next time. I know most people don't automatically put math instruction together with ESL, but I have actually done quite a bit of it over the years. There's a lot of vocabulary in math, and it's an important subject for every student. I hope your students enjoy these fact practice games as much as mine. Happy teaching, everyone!
0 Comments
Cool, right? And they were extremely easy to make. This is possible in both Excel and Sheets, but I find it a little easier to complete in Sheets because there are fewer options. The good news is that Sheets can be downloaded as Excel (click File, Download, Microsoft Excel) and all of the formatting stays in place. These directions will be for Sheets. The first thing I did was rename the first tab as "Directions." To rename a tab:
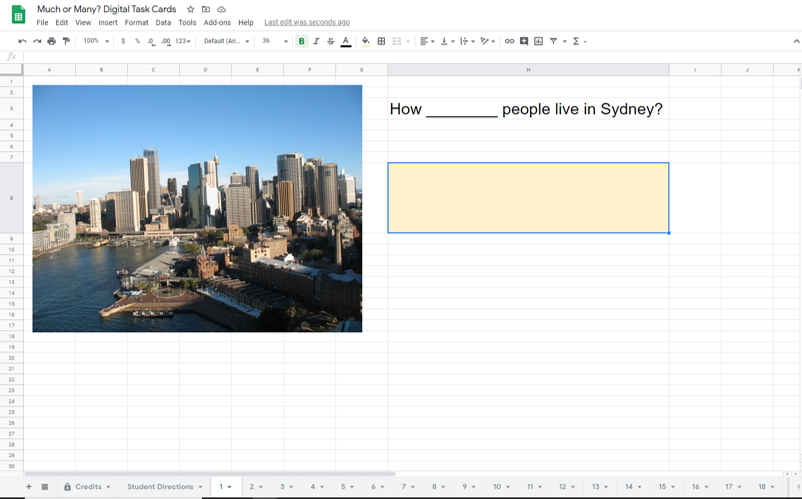
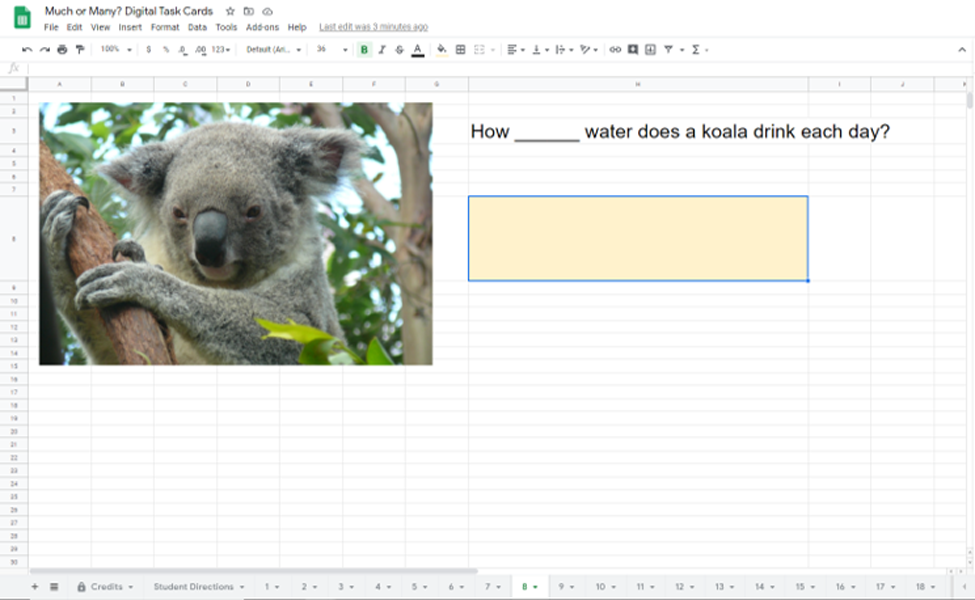
After the directions are finished it's time to add the question, answer, and grade tabs. I recommend that you add the answer tab first and you update it as you go. To add a tab click the + sign in the bottom left corner. Change the name to "Answers" using the above steps. I chose to label column A as "Question," so I could easily see which question the answer corresponded to, and I went ahead and numbered down column A (type 1 into cell A2, grab the bottom right corner of the blue outline around the cell and pull down, the numbering will be done automatically). Column B I labeled "Answer." Going back to my directions tab, I again clicked the + button and renamed this newest tab "1" for question one. On the question tabs you are going to include whatever you would normally place on a task card. I chose to include a picture (click Insert, Image, Over Cells) and the sentence that I wanted them to complete. One thing you do need to be sure and include though is an easily identifiable place for them to type their answer. You need to know exactly where the answer will be typed in order for the conditional formatting to work. I took care of this problem by choosing a cell, resizing it (not necessary but I wanted it to be large and not easily missed), and coloring it tan. Now that your first task card is set up, it's time to make the magic happen on the answer sheet.
To create the next task card you could start from scratch, but I recommend copying and pasting to save yourself a little setup work.
Only a few things remain to be done. The first step is to finish the auto-grading feature.
This next part is totally optional but I wanted it because I sometimes use task cards as an assessment. The Answers tab will now clearly show which questions are correct and which are incorrect. This is great if I want students to be able to go back and correct their work, but what if I don't want to make it obvious which questions are right or wrong, and I still want them to know their final score? My solution was a grade tab. From the Answers tab create a new tab by clicking the + sign in the bottom left corner. Rename the new tab "Grade." I then inserted a picture (just for fun) and an encouraging message. I then chose a cell and typed "Number Correct" (cell H4 in my example). In the next cell over (cell I4 on my sheet) I told it to automatically populate from the Answers sheet.
The final step is to hide the Answers tab so they don't have access to which specific questions are correct or incorrect (this step is optional but good if you want to use the cards as an assessment). To hide a tab:
That's it, you now have a complete set of self-grading digital task cards. To use them you will need to make a copy of the document for each student and give them editing rights (be sure you've deleted any answers you typed on the question tabs as you tested things out). The best way of doing this will depend on your learning management system. To do this on Blackboard I create a Force a Copy link and post the link in my assignment. In Google Classroom you can just put the link into classroom and choose "make a copy for each student." The important thing is that each student have his or her own copy of the cards. This truly is my new favorite way to do task cards. I like it so much that I'm planning to go back and recreate some of my other task cards (the ones where students move circles to indicate their choice and I have to check each slide individually) using this method. I hope you find it helpful as well, happy teaching!
Now that you have all of your slides set up as images/backgrounds, it is time to start making the magic happen. The first thing we want to do is make it so students cannot advance slides by clicking anywhere. To do this we are going to link each slide to itself.
Making the slides advance is the next step:
A lot of work, I know, but it really is worth it. The good news is that once you finish creating all of your answer and next question buttons, you are done. Put your slides in present mode and try them out...pretty cool, huh? If you prefer video tutorials, here is a short one: Happy task card creating, everyone! Next week I'll show you how to create self-grading task cards in Sheets/Excel that can be used as an assessment, it's my new favorite digital task card delivery method! |

I'm moving! Find me at my new home via the button below. If you've previously signed up to receive new post emails, please reenter your email on the new blog.
Categories
All
Archives
January 2021
|